Moving Hands - Simple Drum Fill Technique

STEP 1
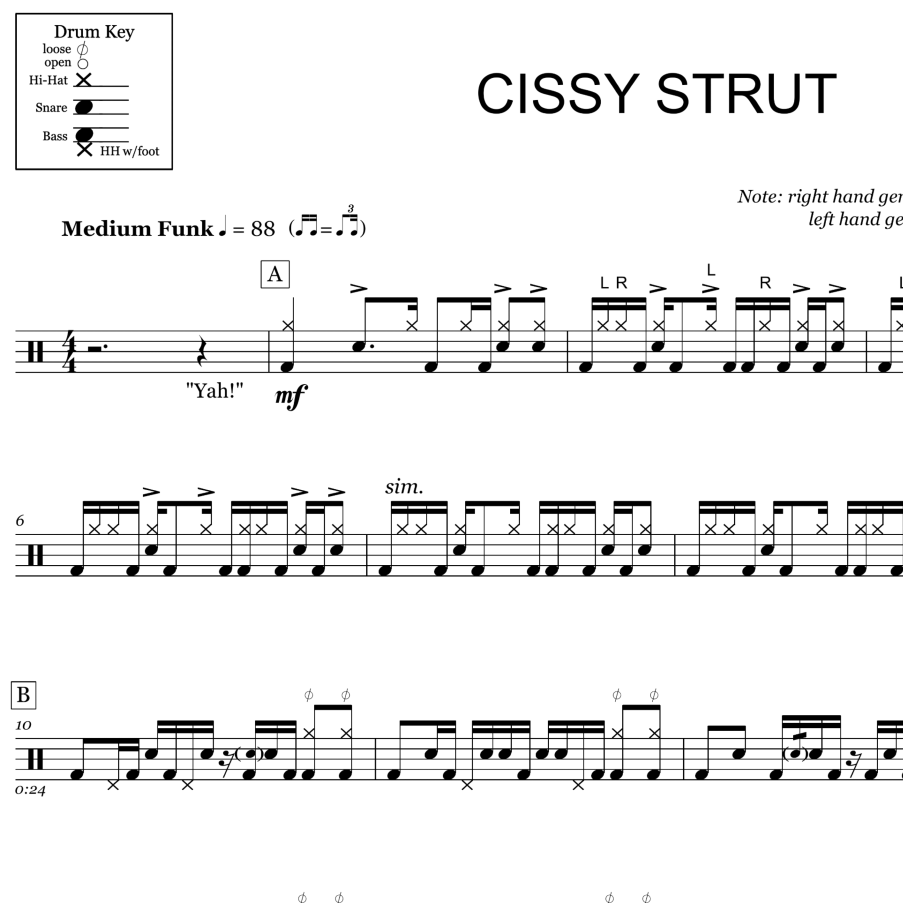
To make the concept a little easier to grasp, let's start by moving only the right stick. In the main beat, the right stick plays 8th notes on the hi-hat (and a single crash on beat 1). This fill moves all of the right stick 8th notes to the toms. The left stick and bass drum remain the same as in the main beat. The notation can look a little complex, but keep in mind that the rhythm (and stick patterns) remains exactly the same as in the main beat.

To make the right stick pattern clearer, I've broken some notation rules below. The X noteheads represent the right stick strokes. You can see that they fall on all of the 8th notes, just like in the main beat. Notice that the right stick pattern plays: low, high, low, low, high, low, low, high.

Step 2
Step 2 builds upon step 1 by moving two of the left-stick strokes. The snare strokes on beats 2 and 4 (i.e. the backbeats) remain on the snare, but the other two snare strokes from the main beat are moved to the high tom. I've used more improper notation to show what the left stick does. The diamond noteheads represent the left stick, and the X noteheads represent the right stick. It can be helpful to first learn the hand part, adding in the bass drum later.

Conclusion
That's it! By using the same rhythm and sticking as in the drum beat, you can easily re-orchestrate it around the toms to create a drum fill. Have fun exploring moving your hands around the drums and fillin'! This is also a great exercise for improvising drum fills. Challenge yourself to come up with new orchestrations on-the-fly each time you reach the fill.

